
Getting Started: An Introduction to Chocolate & Tempering
This article aims to educate you on the ‘why’ and ‘how’ of tempering, helping you on your journey to perfectly tempered chocolate every time!
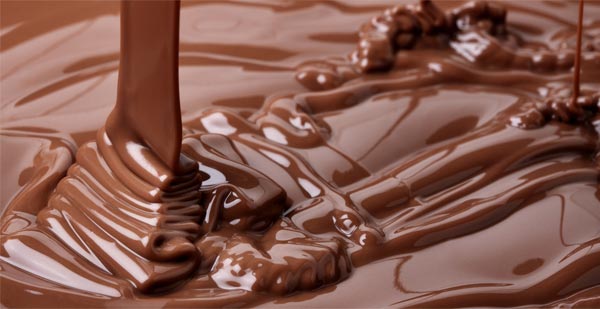
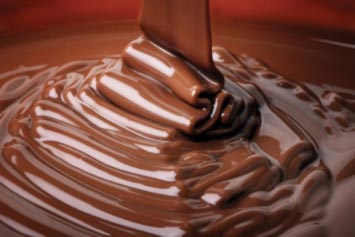
What is tempering?
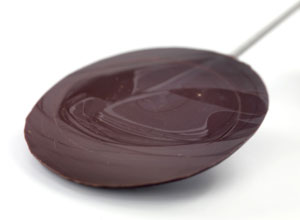
Tempering is the process of heating and cooling chocolate in order to establish the correct crystalline form once it has been melted. Properly tempered chocolate is essential to ensure the following:
- A glossy appearance
- A good snap
- A smooth chocolate mouth-feel
- Good retraction from moulds
- Optimum shelf life
Take a look at our instructional video, Tempering Chocolate, for guidelines on how to temper. Or click through to our article Tempering Explained for more information and guidelines on how to temper.
The temperature of the chocolate and your kitchen needs to be carefully monitored when tempering, as it can drastically alter the workability and finished results of your chocolate. Below are a few temperature guidelines to ensure good workability.
- Chocolate should be heated to 45-50°C to ensure all crystals are melted
- An ideal room temperature when tempering is 18°C-21°C
- Typical working temperature for dark chocolate typically is 32°C, milk to 31°C and white to 30°C
- The ideal temperature for cooling chocolate is 12°C
- Ideal storage temperature is between 12°C to 20°C
- Relative humidity should be below 65%
Troubleshooting
There are several problems which can occur if both the temperature of your chocolate and your kitchen is not carefully controlled throughout the entire chocolate making process. These include:
 Cold spots: these are dull stains on the surface of your chocolate. Cold spots can occur if moulds or storage conditions are too cold or if your moulds are not sufficiently clean.
 Fat bloom: this appears as a soft, white layer of fat crystals on the surface of your chocolate which occurs when fat molecules re-crystallise after exposure to heat or as fatty fillings migrate into the chocolate shell.
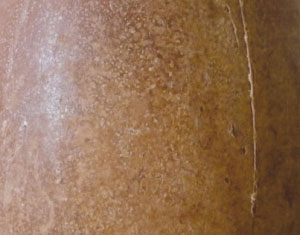 Sugar bloom: this is a rough, grainy layer of sugar crystals that can appear on the chocolate’s surface. It occurs when moisture forms on the surface as a result of condensation, dissolving the sugar present in the chocolate. When this water evaporates, the sugar crystals remain.
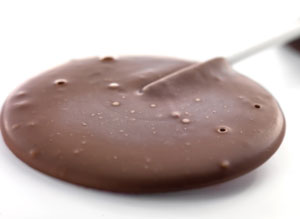
 Air bubbles: these can appear as gaps or air pockets in the surface of your chocolate. This can occur if your chocolate is over-tempered and the chocolate thickens up, preventing the escape of air bubbles. Bubbles are often also present if your moulds have been insufficiently vibrated or shaken – shaking your moulds helps to remove air bubbles from the chocolate.
If you would like some expert or one-to-one guidance on tempering or a specific element of chocolate making, we have a number of excellent courses which we can recommend.
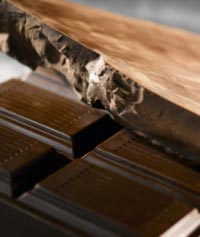
Chocolate
Before you think about moulding and filling your chocolates you will of course need to consider the most important element in this process, the chocolate! If you are very new to chocolate making, you will commonly hear chocolatiers and industry professionals referring to couverture. The basic difference between chocolate and couverture lies in the levels of cocoa butter, with couverture containing more cocoa butter than regular chocolate, ensuring you achieve a high gloss and a ‘snappier’ snap! We stock a wide range of couverture including Callebaut, Cacao Barry and Valrhona. Whilst practising the art of tempering and moulding, it is a good idea to use one of our standard chocolate grades. Or if you are looking for a chocolate to really distinguish your creations we also have a fantastic selection of Origin, Organic & Fairtrade chocolates.
All of the instructional modules featured in this article are showcased in our ‘Working with Chocolate’ DVD, created by Keylink Ltd.